Effective scheduling is crucial for sealing deals, while missed appointments and double bookings can pose risks. Traditional scheduling methods, which often involve extensive communication and manual entries, are susceptible to errors.
However, scheduling platforms such as Calendly have become efficient solutions to overcome these challenges.
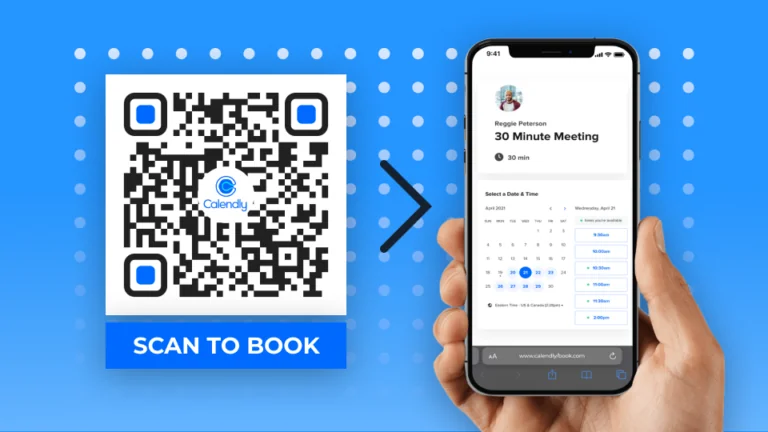
Making a Calendly QR Code simplifies meeting scheduling with a single scan and boosts productivity.
I’ll describe how you can do this and streamline your calendar management process.
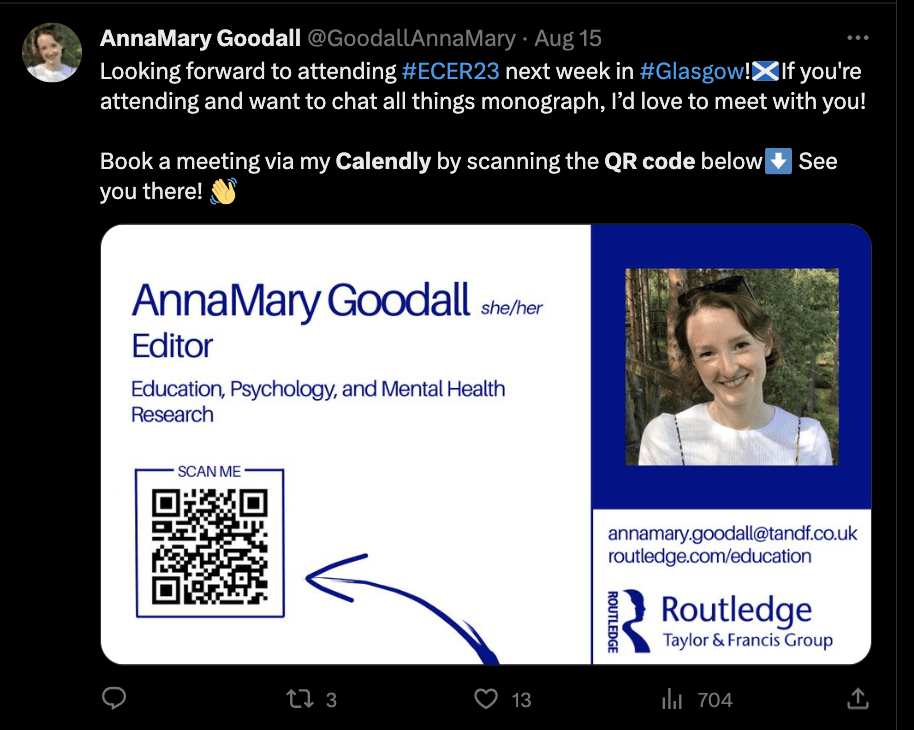
Table of contents
- Understanding Calendly QR Code
- How to make a Calendly QR Code
- Where to use Calendly QR Code
- Frequently asked questions
Understanding Calendly QR Code
A Calendly QR Code is a QR Code that redirects to a Calendly meeting link. This link can be a URL that redirects you to book an appointment or a one-time event URL.
A Calendly QR Code gives clients an easy way to add meetings to their calendars and set reminders with a simple scan.
Incorporating a QR Code into Calendly can help you:
- Boost attendance
- Manage time better
- Enhance efficiency
- Save time and resources
Making a Calendly QR Code is an easy process.
How to make a Calendly QR Code
| ❗Before you proceed:
You must have a publicly shareable Calendly meeting or event URL before creating the QR Code. Calendly’s guide teaches you how to get this. You’ll need a dynamic QR Code generator to create a trackable and editable QR Code for Calendly. Say hello to the world of QR Codes – sign up for a free 14-day trial and follow the steps below to create your Calendly QR Code. |
1. Login to the Uniqode dashboard
On the Uniqode dashboard, click +Create and select QR Code from the dropdown.
2. Select the QR Code type
Select Website from the list of QR Code types, and place your shareable Calendly URL in the box. Choosing a dynamic QR Code lets you change the meeting link without creating a new QR Code.
3. Customize your QR Code
Customizing your Calendly QR Code and adding a logo can make it more eye-catching and improve scan rates.
On Uniqode, you can change every aspect of your QR Code’s design, such as the logo, background, patterns, colors, and CTA frames.
Once done, click Next.
4. Download your Calendly QR Code
You can download your QR Code in the format you require. Click Finish once done.
| 📕Note: Your Calendly QR Code will be placed in different places to attract potential clients. Choose your QR Code format appropriately by following our printing guidelines. |
Where to use Calendly QR Code
1. Conferences and Events
Networking events are vital to increasing overall sales and nurturing new leads. Adding a Calendly QR Code can further streamline accessibility and help you boost your network and connections.
Whether you’ve nurtured a new lead or want to connect with a vendor, a Calendly QR Code helps you quickly and easily schedule meetings. This can impress prospective clients and help you increase your sales and conversions.
2. Business cards at any touchpoint
While an average of 4-7 business cards are exchanged at events, getting people to an online meeting from here can be an unnecessary hassle. While business cards are exchanged at multiple touchpoints, placing a Calendly QR Code is a sure-shot way to get people to your Calendly meeting.
3. Workshops
If you’ve ever held a workshop and want to get people to sign up quickly for your classes, a Calendly QR Code provides a convenient way to close the gap for even the most non-committed members.
Placing QR Codes on posters near the Workshop venue, PowerPoint, and doors can help increase registrations and signups.
4. Classes and lectures
Scheduling doubt-clearing sessions, feedback meetings, and online lectures doesn’t have to be as hard a hassle anymore. With 97% of students owning a smartphone, getting them to scan a Calendly QR Code makes sense.
Placing Calendly QR Codes around educational institutions, including classrooms, can help increase student productivity and ease of access for teachers.
5. Recruitment drives and HR meetings
Candidates need a quick and easy way to schedule an interview or follow-up meeting.
Connecting with candidates has never been easier than with a Calendly QR Code.
You can place these QR Codes on recruitment drives, LinkedIn, or email signatures to enable quick and easy meeting sharing.
Calendly QR Codes can also help you schedule essential HR calls with your employees to gather valuable information and boost workplace productivity.
Make a Calendly QR Code for your calendar management on Uniqode
Creating a Calendly QR Code for your calendar management on Uniqode is a game-changer. This innovative approach not only simplifies meeting scheduling but also elevates client experience.
Whether you’re a small business owner, a consultant, or a member of a large organization, this solution can save you time, minimize scheduling errors, and offer valuable insights into your meetings and events.
Simply choose your preferred use case, customize it to suit your needs, and generate your QR Code for download. It’s as straightforward as that!
Experience the benefits firsthand by getting started with your free trial today– No CC required.

Frequently asked questions
1. Does Calendly have a QR Code?
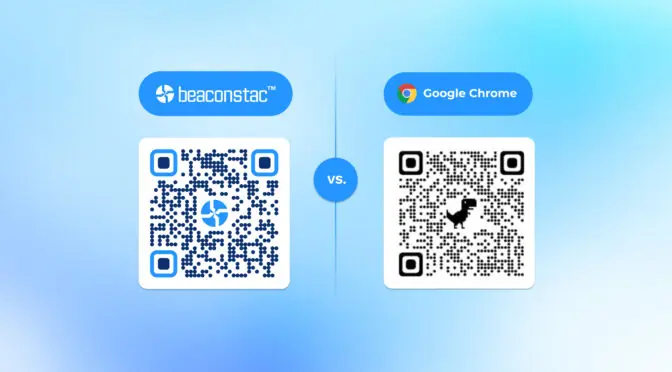
Yes, Calendly does have a QR Code feature that can be used to schedule meetings and events. However, Calendly’s QR Codes are static, meaning you can’t update them or track scans in real-time. They have limited data capacity and don’t support online retargeting. Any changes necessitate a new QR Code.
2. How do I create a QR Code for a calendar invite?
Creating a QR Code for a calendar invite using Uniqode is straightforward. Here are the steps:
- Log in to Uniqode and go to the QR Codes section on the left panel.
- Click Create QR Code
- Select Website
- Paste the URL of your Calendly booking page or any other calendar invite link, such as Google Calendar.
- Customize your QR Code as per your preference
- Click Generate and then Download your QR Code
3. How do I share my Calendly link?
Sharing your Calendly link is relatively straightforward. Here are the steps:
- On your Calendly Home page, find the event that you want to share
- At the bottom right of the event tile, select Share
- Select Let this link expire after the first booking if you want the link to expire after it’s used once
- Select Copy Link
- Paste your link into a message and send it to your invitee.
From the app homepage, locate the Event Type you’d like to share, tap Copy single-use link, and then paste it into an email, text, or any other messaging platform to share it with the desired group of people.
Remember, these single-use links expire after 90 days. So, it’s always a good idea to check if your links are still active if they were created a while ago.


